- 2 yards of fabric per capem one yard of each color;
- 1 package of extra wide, double fold bias tape (1 package will make 2 capes);
- Sewing machine and thread;
- Chalk or fabric marker;
- String, yarn, or thread
- Scissors
Directions:
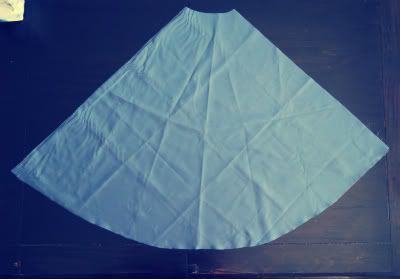
- Fold each piece of fabric in half. To mark the curved cutting lines, tie one end of a string to a fabric marker or chalk. Hold the other end of the string to the top corner of the fabric at the fold. Pull string taut, and draw the curve of the cape. Do this at the neck line and at the hemline. Cut along the chalk lines. Repeat for other fabric.
- Unfold the fabrics and pin right sides together. Using the sewing machine, sew around the outside edges and bottom of the cape, using a 1/2-inch seam allowance. Clip on seam allowance at the corners. Do not sew the neckline.
- Reach in through the neckline and turn the cape right side out. Iron cape at this point to make edges crisp.
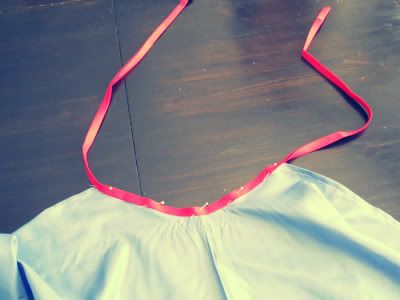
- Cut the length of bias tape in half, creating two pieces of the 54" bias tape. Mark the middle of the bias tape and the middle of the neckline. Match the center marks and pin the bias tape around the neckline, leaving equal room on both sides for the ties. Sew the bias tape from one end to the other closing the


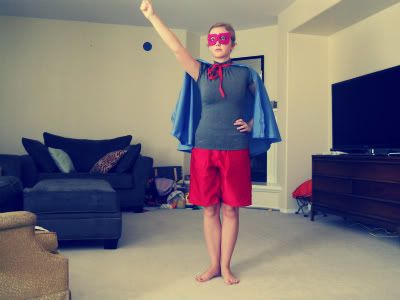
Please don't judge my outfit. Or the fact that the cape and mask don't fit me. Now go make some capes of your own for a little boy's superhero birthday party. Or for your own personal enjoyment.


1 comment:
You're too funny!
Mom
Post a Comment